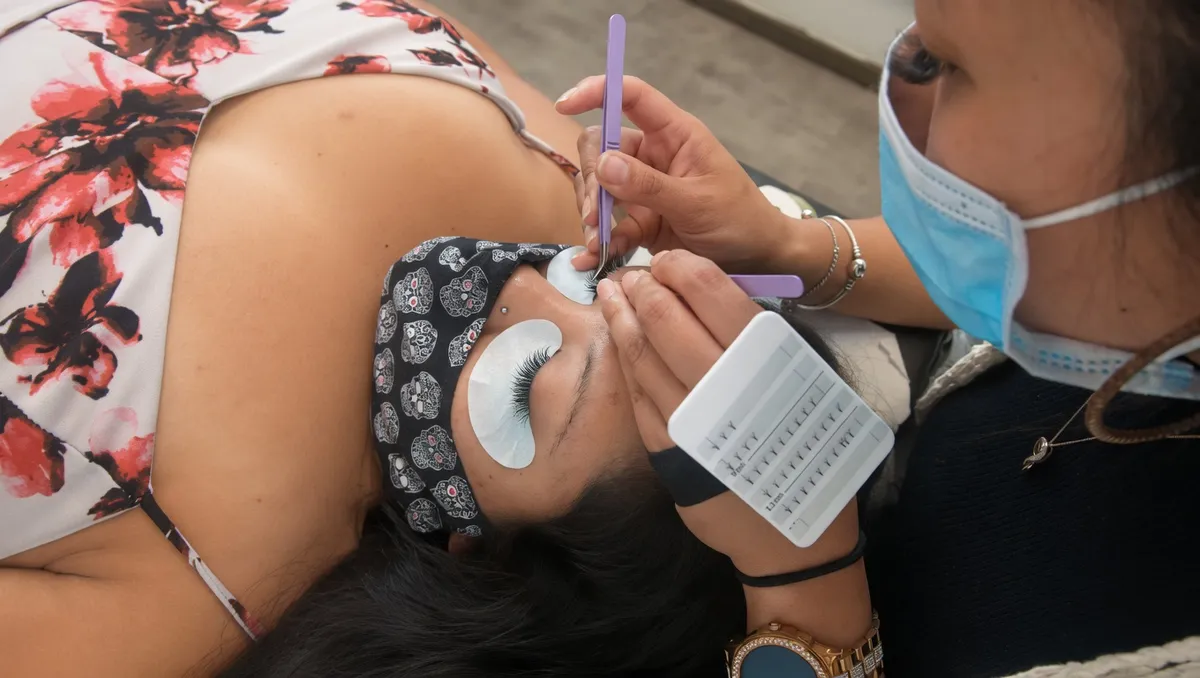
A lash extension fill sounds simple. Then you skip a step and see how much can go wrong. I’ve done fills for years and I still run the same checklist every time. I don’t have to. But the few times I rushed it, I paid for it in retention.
Start With a Proper Cleanse
Before touching a single extension, I cleanse. Every time, no exceptions.
I use a microfiber brush with contact solution and primer to clear off makeup, oil and residue. This is the step people skip when they’re running behind. It’s also behind half of all retention complaints. Extensions need a clean surface to bond to. If anything sits between the adhesive and the natural lash, you lose retention before you start.
If a client comes in with heavier makeup, I swap to a proper lash cleanser and work it through with the brush. It takes an extra minute. It’s worth it every time.
Remove the Grown-Out Extensions
Once the lashes are clean, I remove any extension that has grown out more than a millimeter from the lash line.
My rule: if an extension sits two to three millimeters from the skin, it comes off. I use the banana peel technique to slide it off cleanly. Then I place a fresh extension on that natural lash at the right distance.
This is about comfort. An extension that has grown too far down the lash can pull and twist. That irritates the eye, most of all when a client sleeps or rubs their eyes. Pulling is also the first sign of an extension glued to more than one natural lash, which is what damages natural lashes.
It adds a few minutes to the appointment. It’s also the difference between a fill that looks fresh and one that only looks full.
Placing the New Extensions
The fill itself is easy once the cleanup is done. I work through every lash that has grown out or lost its extension. Each new one sits one millimeter from the skin, no closer.
That gap isn’t optional. Too close and you get irritation and contact with the eyelid. Retention drops too, because the glue joint is under constant pressure. I keep the same gap across the whole set so it looks and feels even.
Why I Use Pre-Made Fans for Fills
For this fill I’m using pre-made volume fans. I’ve come to like them for fills in particular.
Every pre-made fan comes out the same shape with the same spread. That gives the finished set an even, fluffy look, and I don’t spend extra time making fans at the tray. For a full set I still prefer making my own. For a fill I want to move fast and match the lashes already there. Pre-mades do that well. I use [affiliate id=”lashes-individual-volume”]pre-made volume fans[/affiliate] when I need a consistent shape and faster placement.
[products_widget]Sealing the Set Without Collapsing the Fans
When the lashes are done, I finish with a sealant. How I apply it took me a while to figure out.
The mistake I used to make: putting sealant on a regular brush and coating the full extension. That collapses the fans. They go from fluffy to spiky in about ten seconds and there’s no coming back from it.
What works: load a thin microfiber brush lightly with sealant. Apply it only to the base of each extension and keep it off the fans. Use just enough to seal the bond. The fans stay open, the set stays fluffy, and the sealant still does its job.
That’s the full process. Cleanse, remove grown-outs, fill, seal. Each step sets up the next one. Skip the cleanse and retention suffers. Skip the grown-outs and the set looks uneven. Do all four and a fill looks as good as a full set.
Leave a Reply